How to install the desktop recorder on a Mac
Download the howtovideos.ai desktop recorder, move it to Applications, allow screen recording and sign in.
Step by step
12 steps to install the desktop recorder on a Mac.
Download it
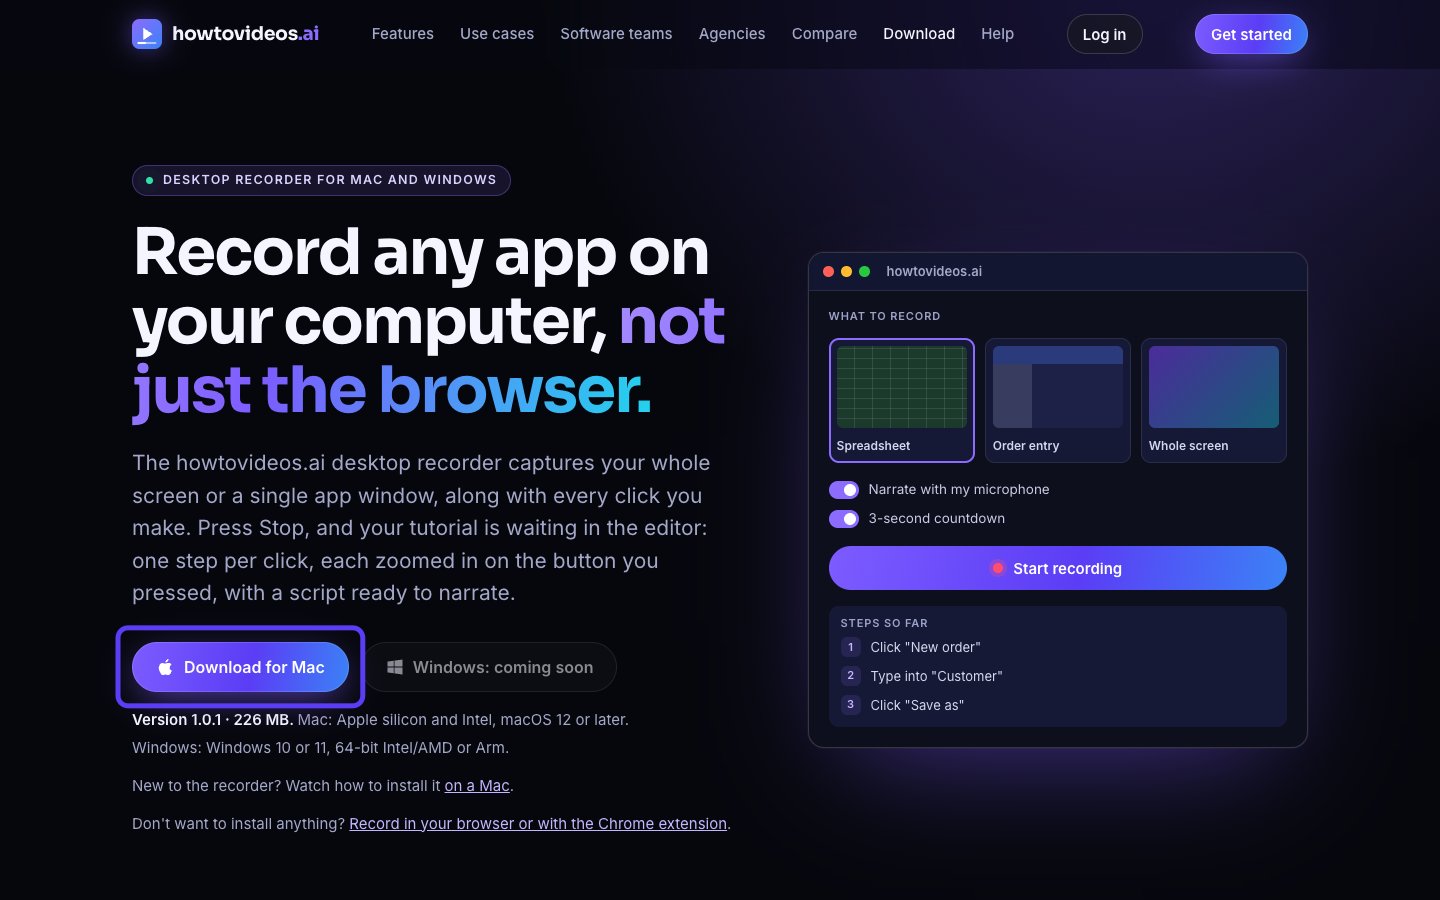
On our website, open the Download page and choose Download for Mac. The one download works on Apple silicon and Intel Macs.
Open the downloaded file
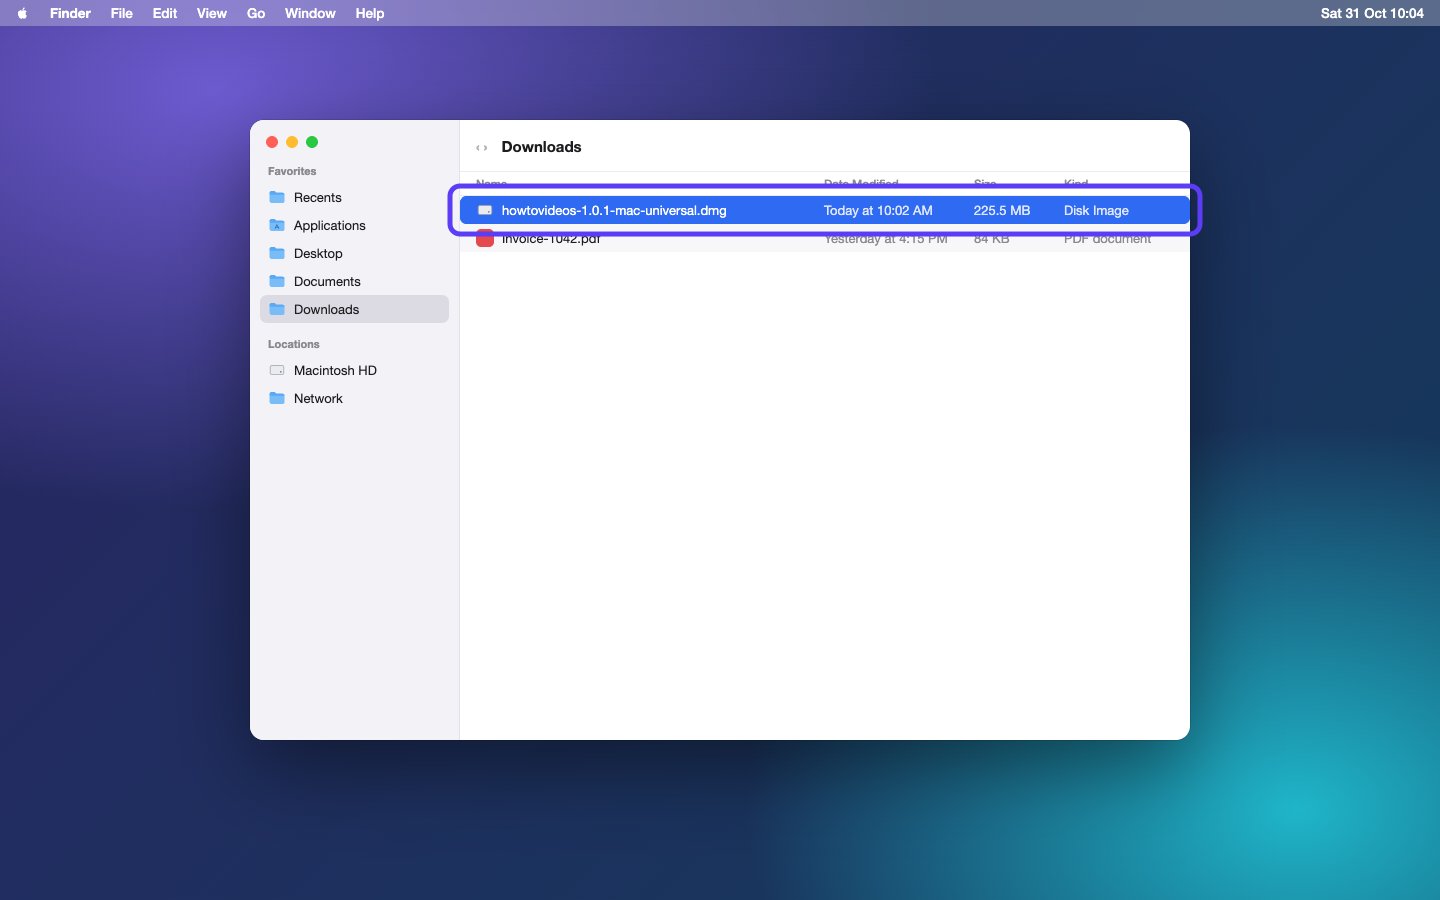
Open your Downloads folder and double-click the disk image you just downloaded.
Drag it into Applications
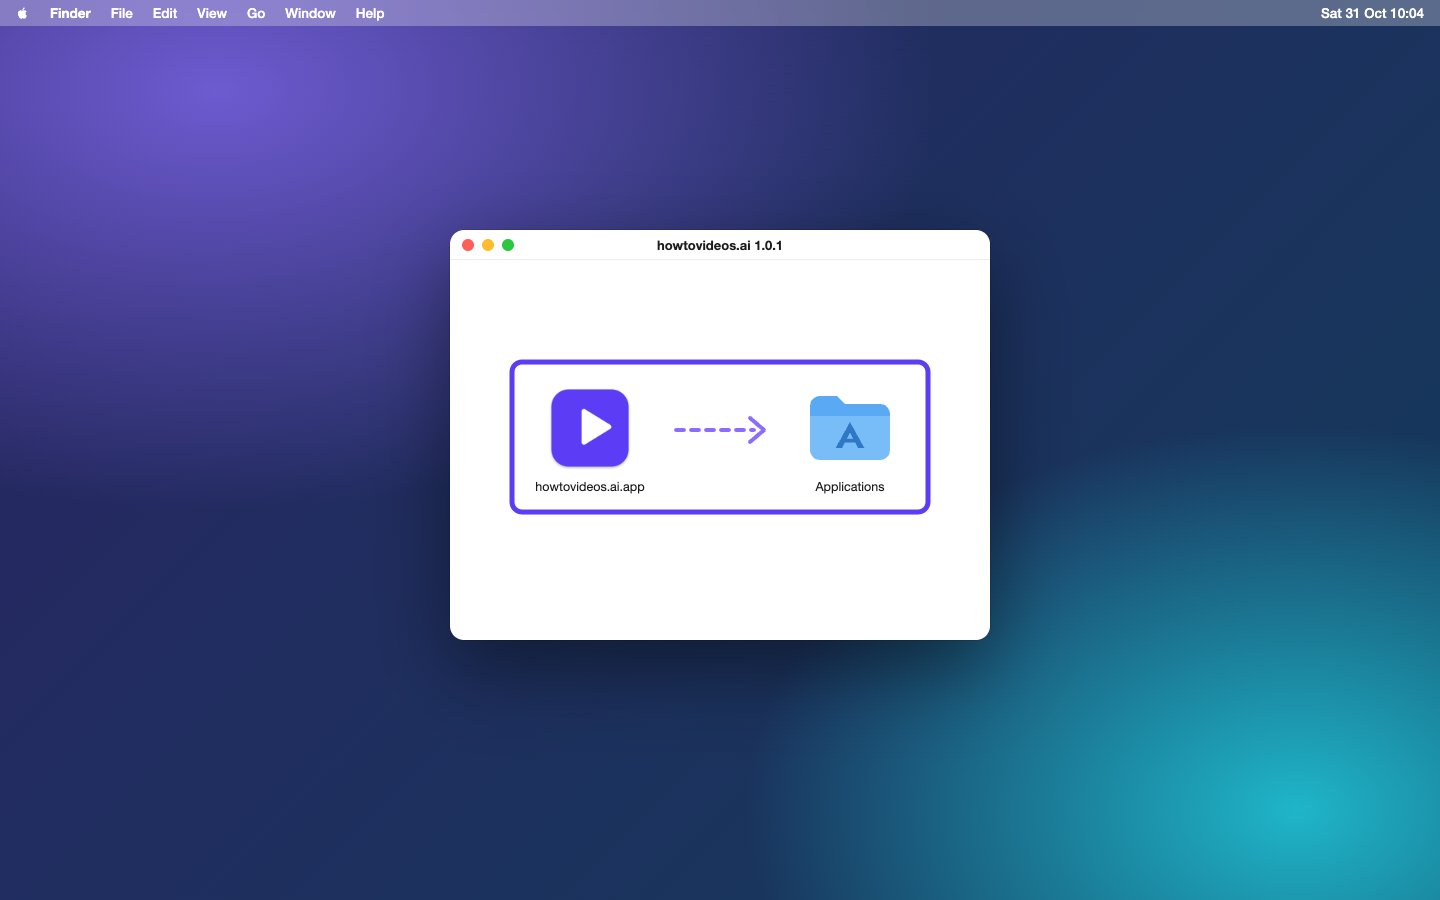
A new window opens. Drag the app onto the Applications folder next to it.
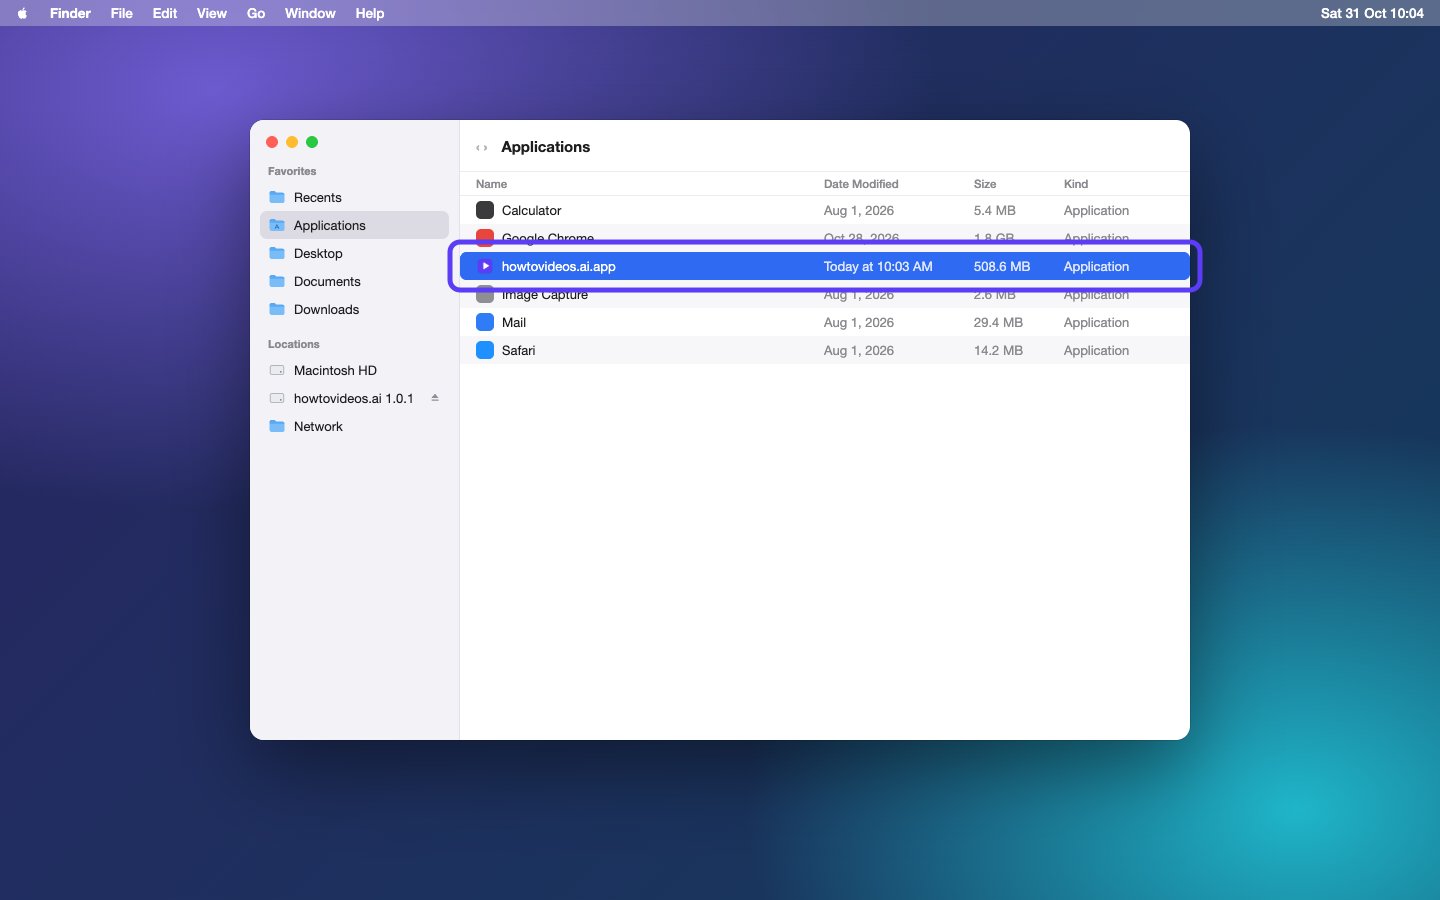
Open it from Applications
Open your Applications folder and double-click the app. You can eject the disk in the sidebar now: you don't need it any more.
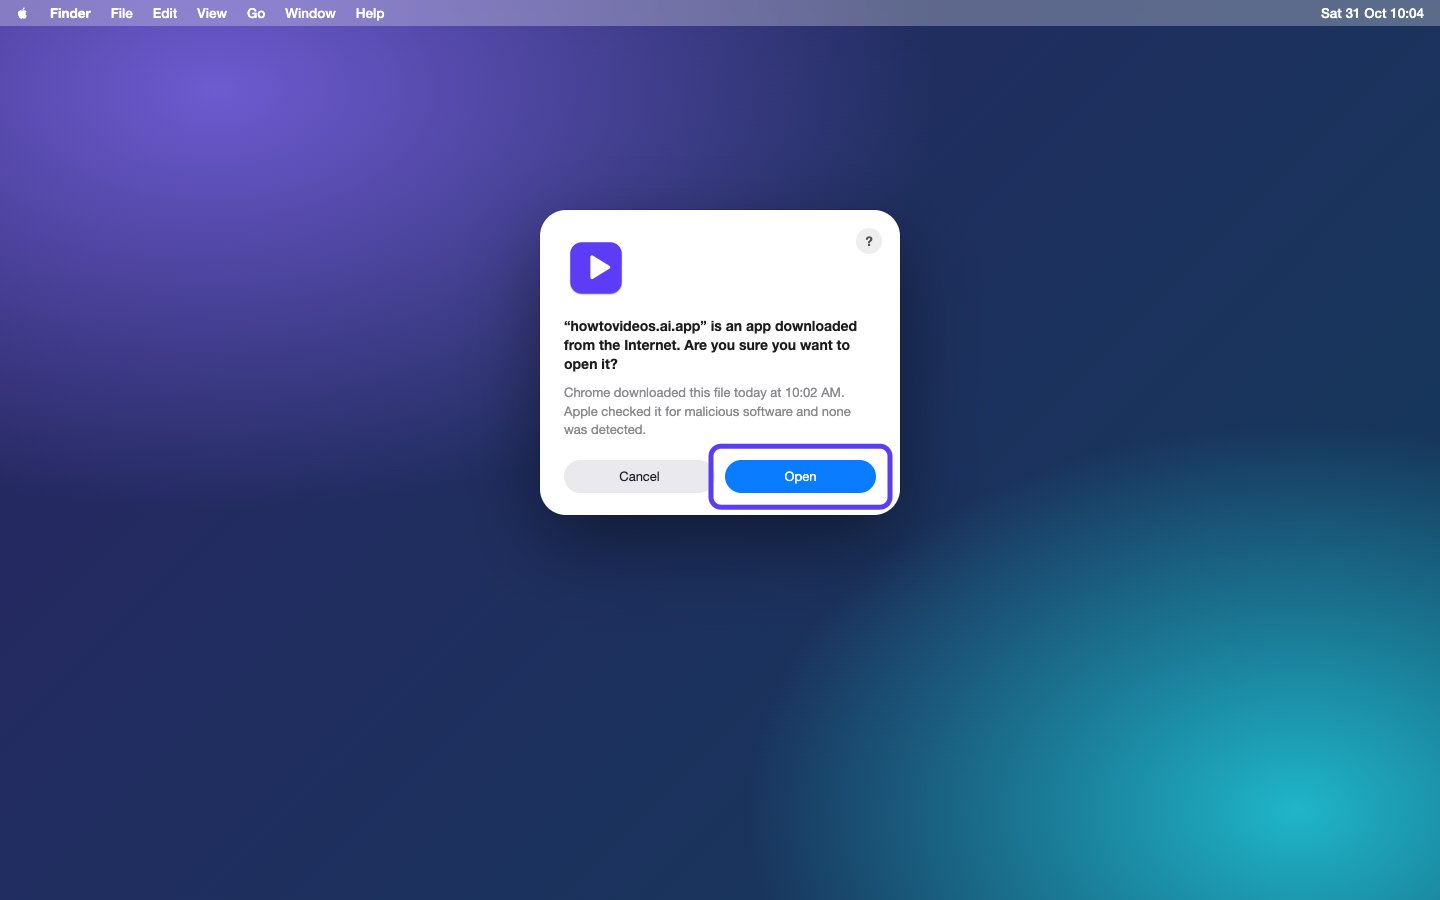
Choose Open
The first time, macOS checks that you meant to open an app from the internet. Apple has already checked it for malicious software. Choose Open.
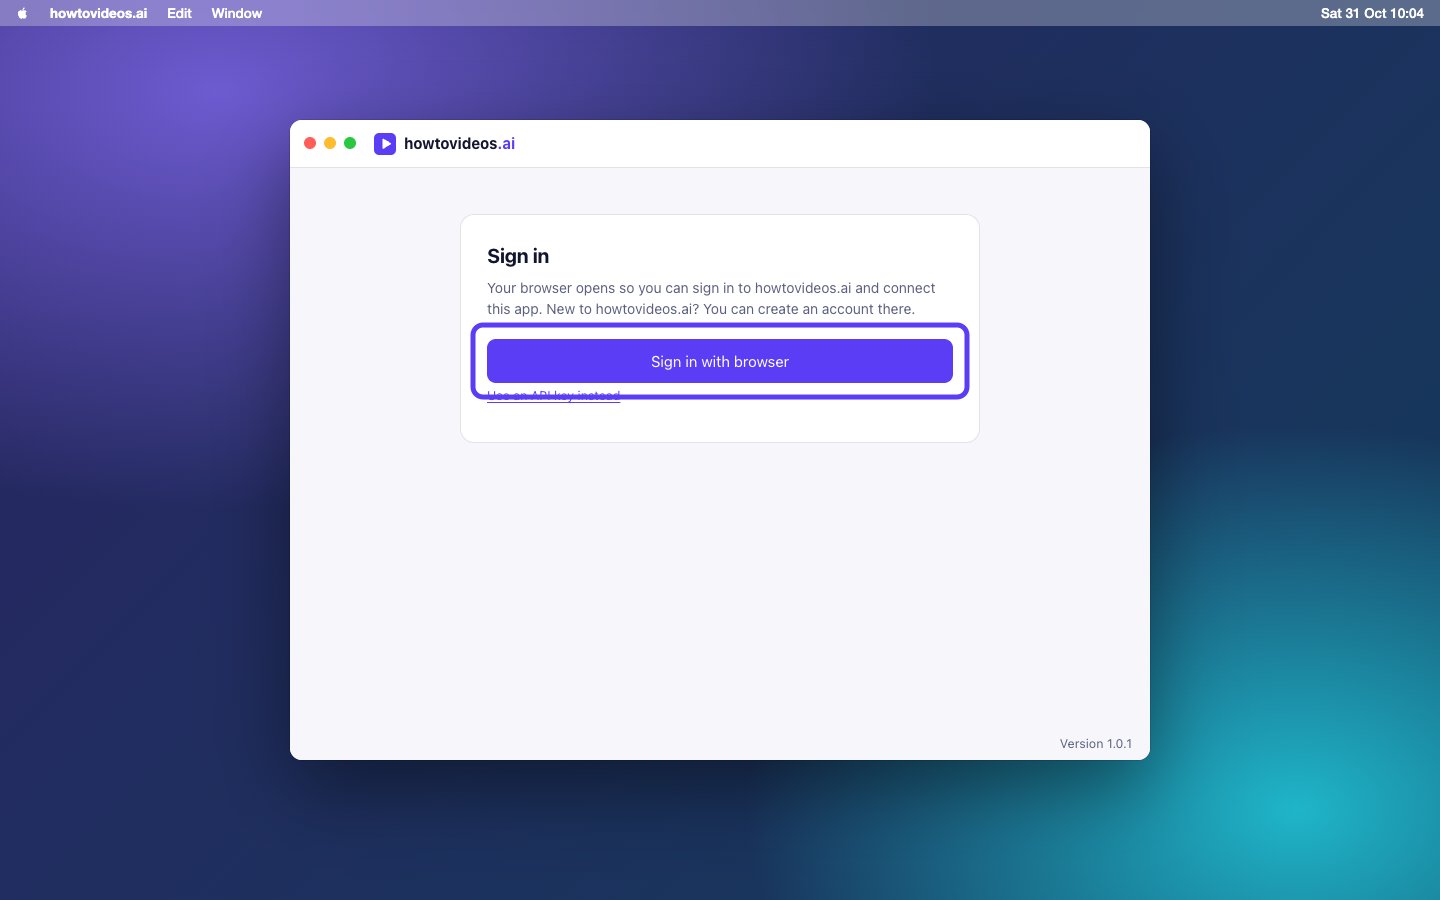
Sign in with browser
Choose Sign in with browser. Your browser opens so you can sign in to your account, or create one.
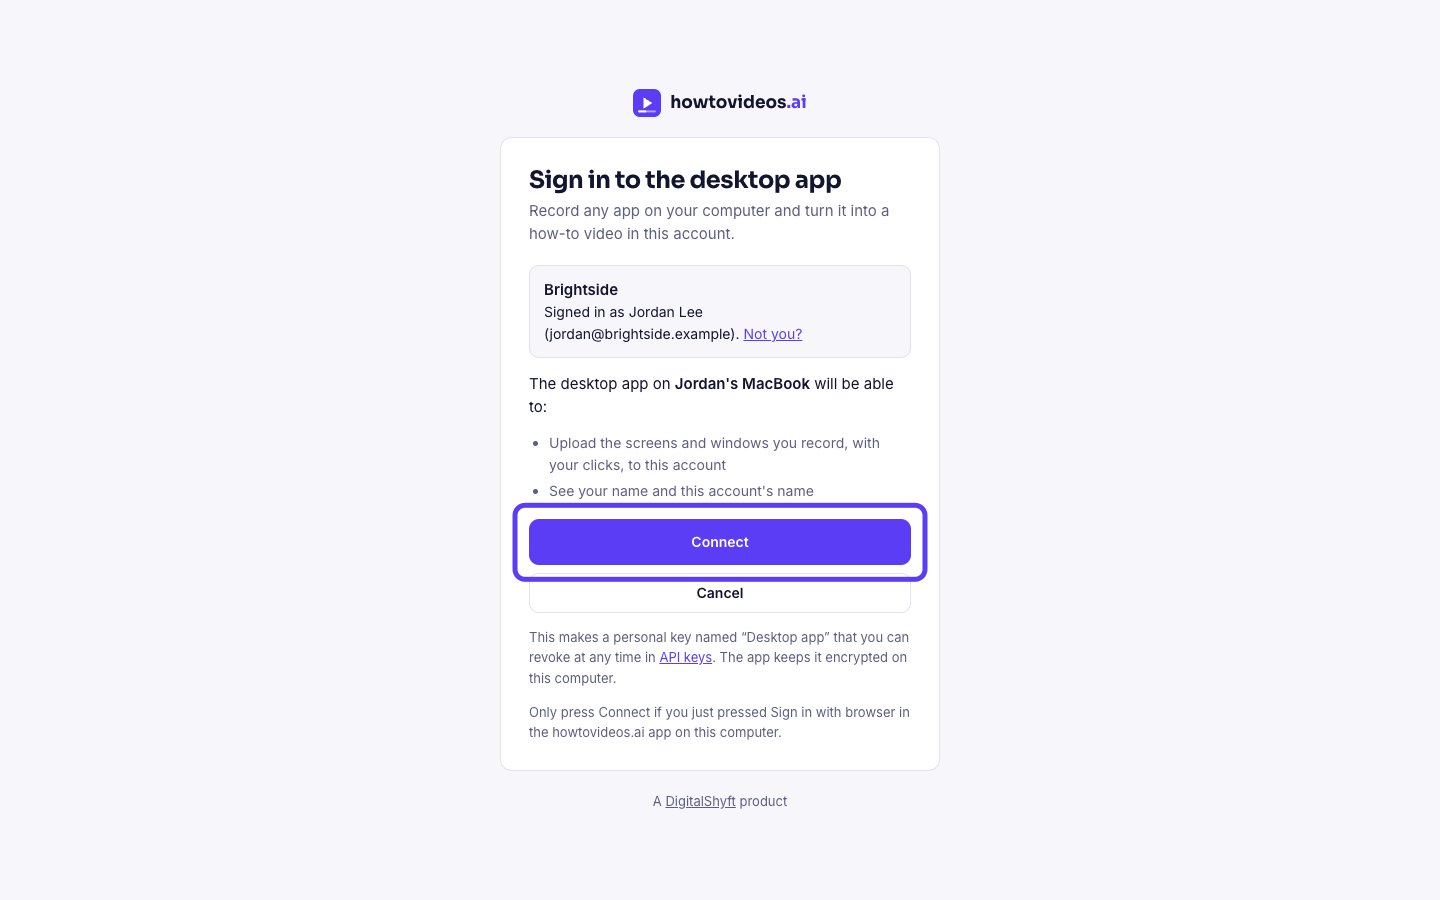
Choose Connect
Check it's the right account, then choose Connect. The app gets its own key, and you never have to copy one.
Go back to the app
Your browser says you're signed in. Close the tab and go back to the app. The key is stored encrypted on your Mac.

Allow screen recording
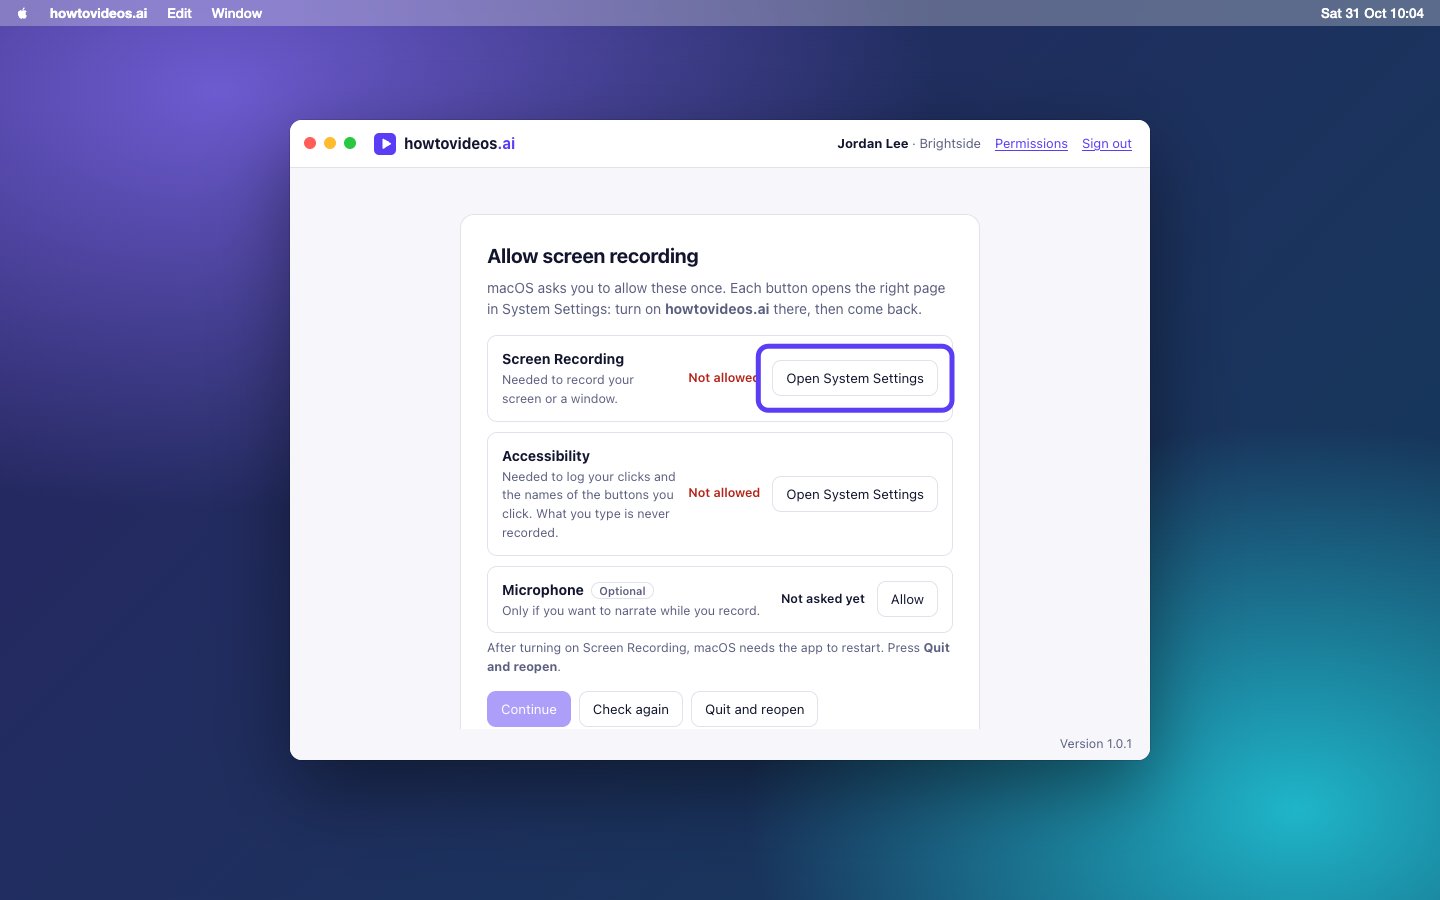
macOS needs your permission before any app can record the screen. Next to Screen Recording, choose Open System Settings.
Switch the app on
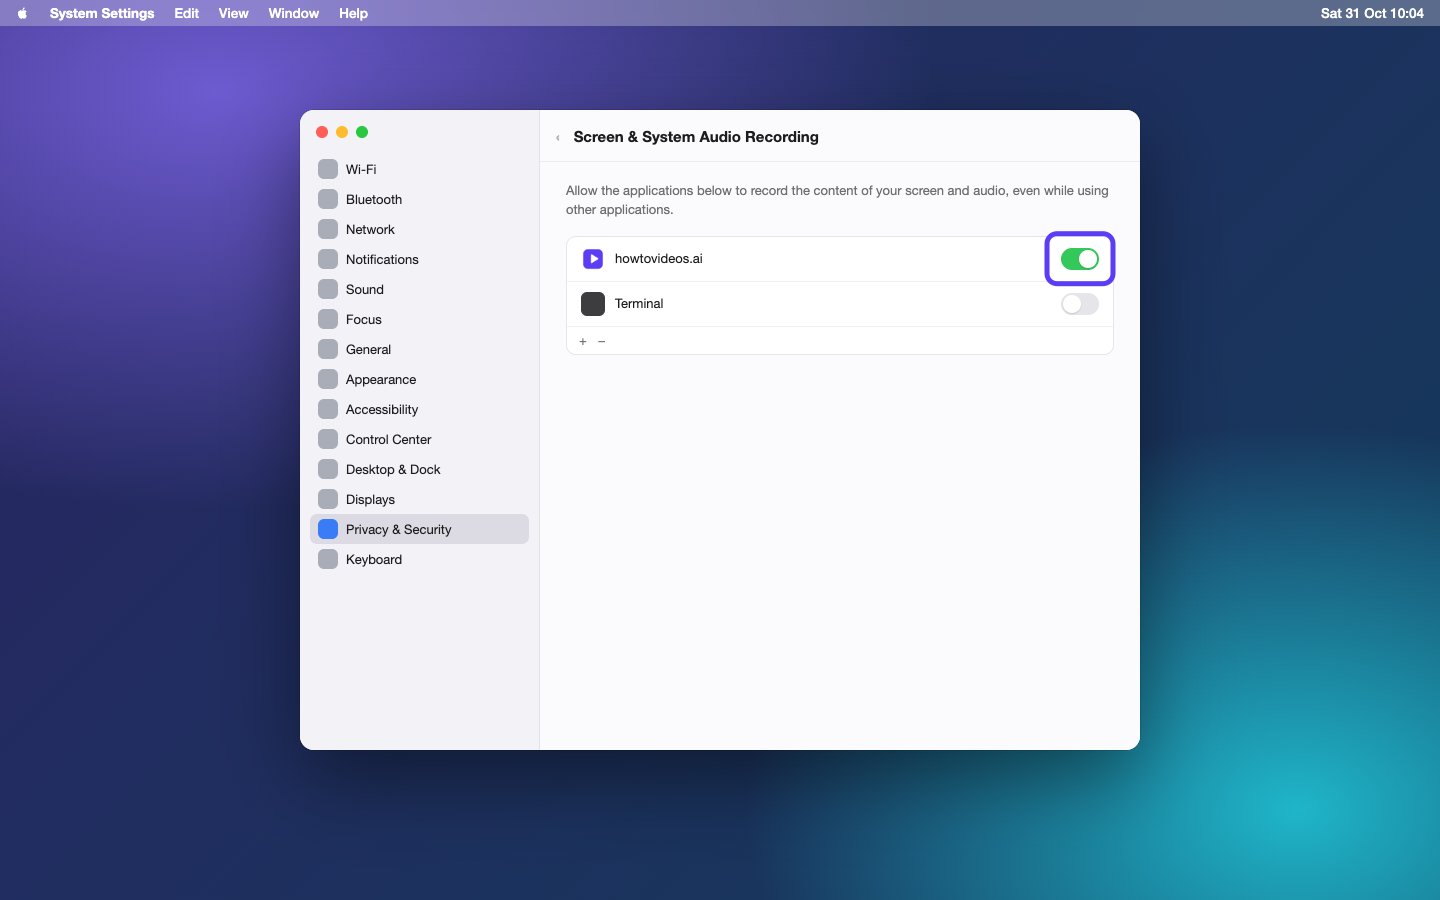
In Privacy and Security, under Screen and System Audio Recording, switch the app on. When macOS asks, choose Quit and Reopen.
Allow Accessibility too
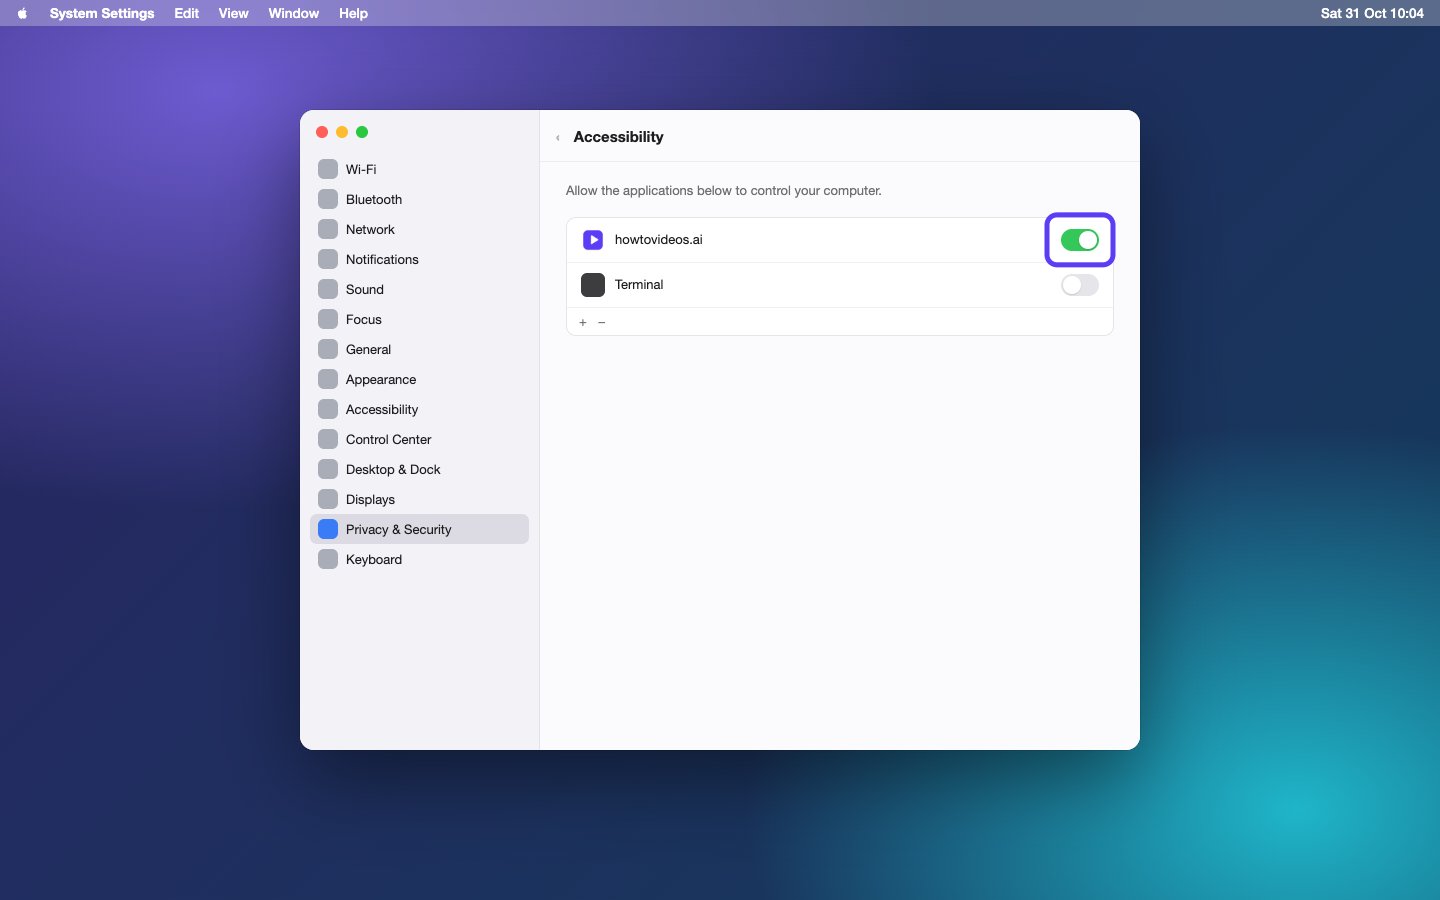
Back in the app, do the same for Accessibility, so it can see which buttons you click. It never records what you type. Then choose Continue.
Pick what to record
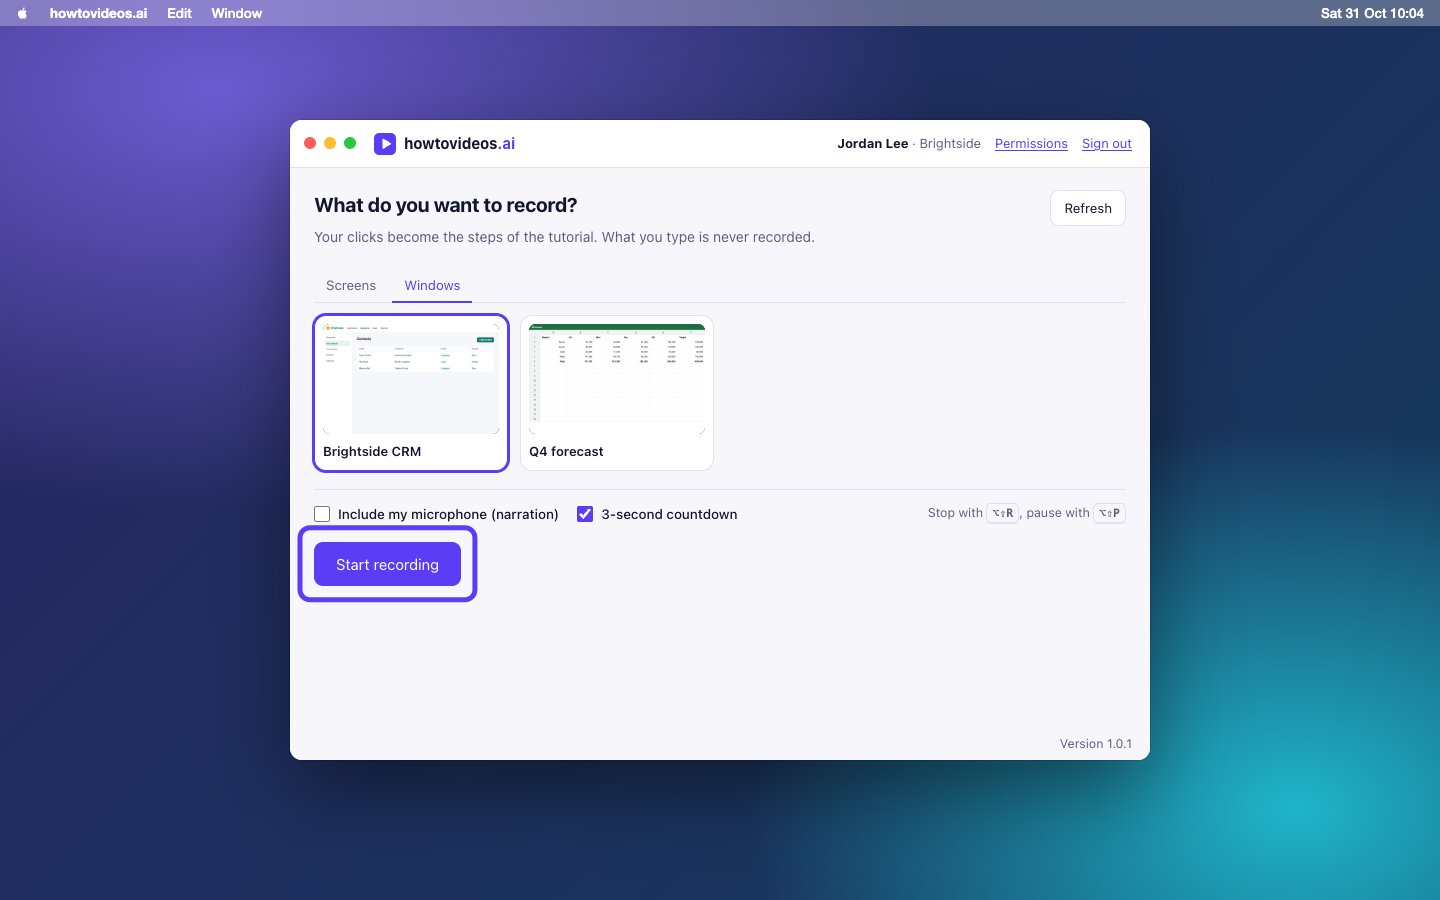
You're in. Pick a screen, or an app's window, and choose Start recording. When you stop, your tutorial opens in the editor.